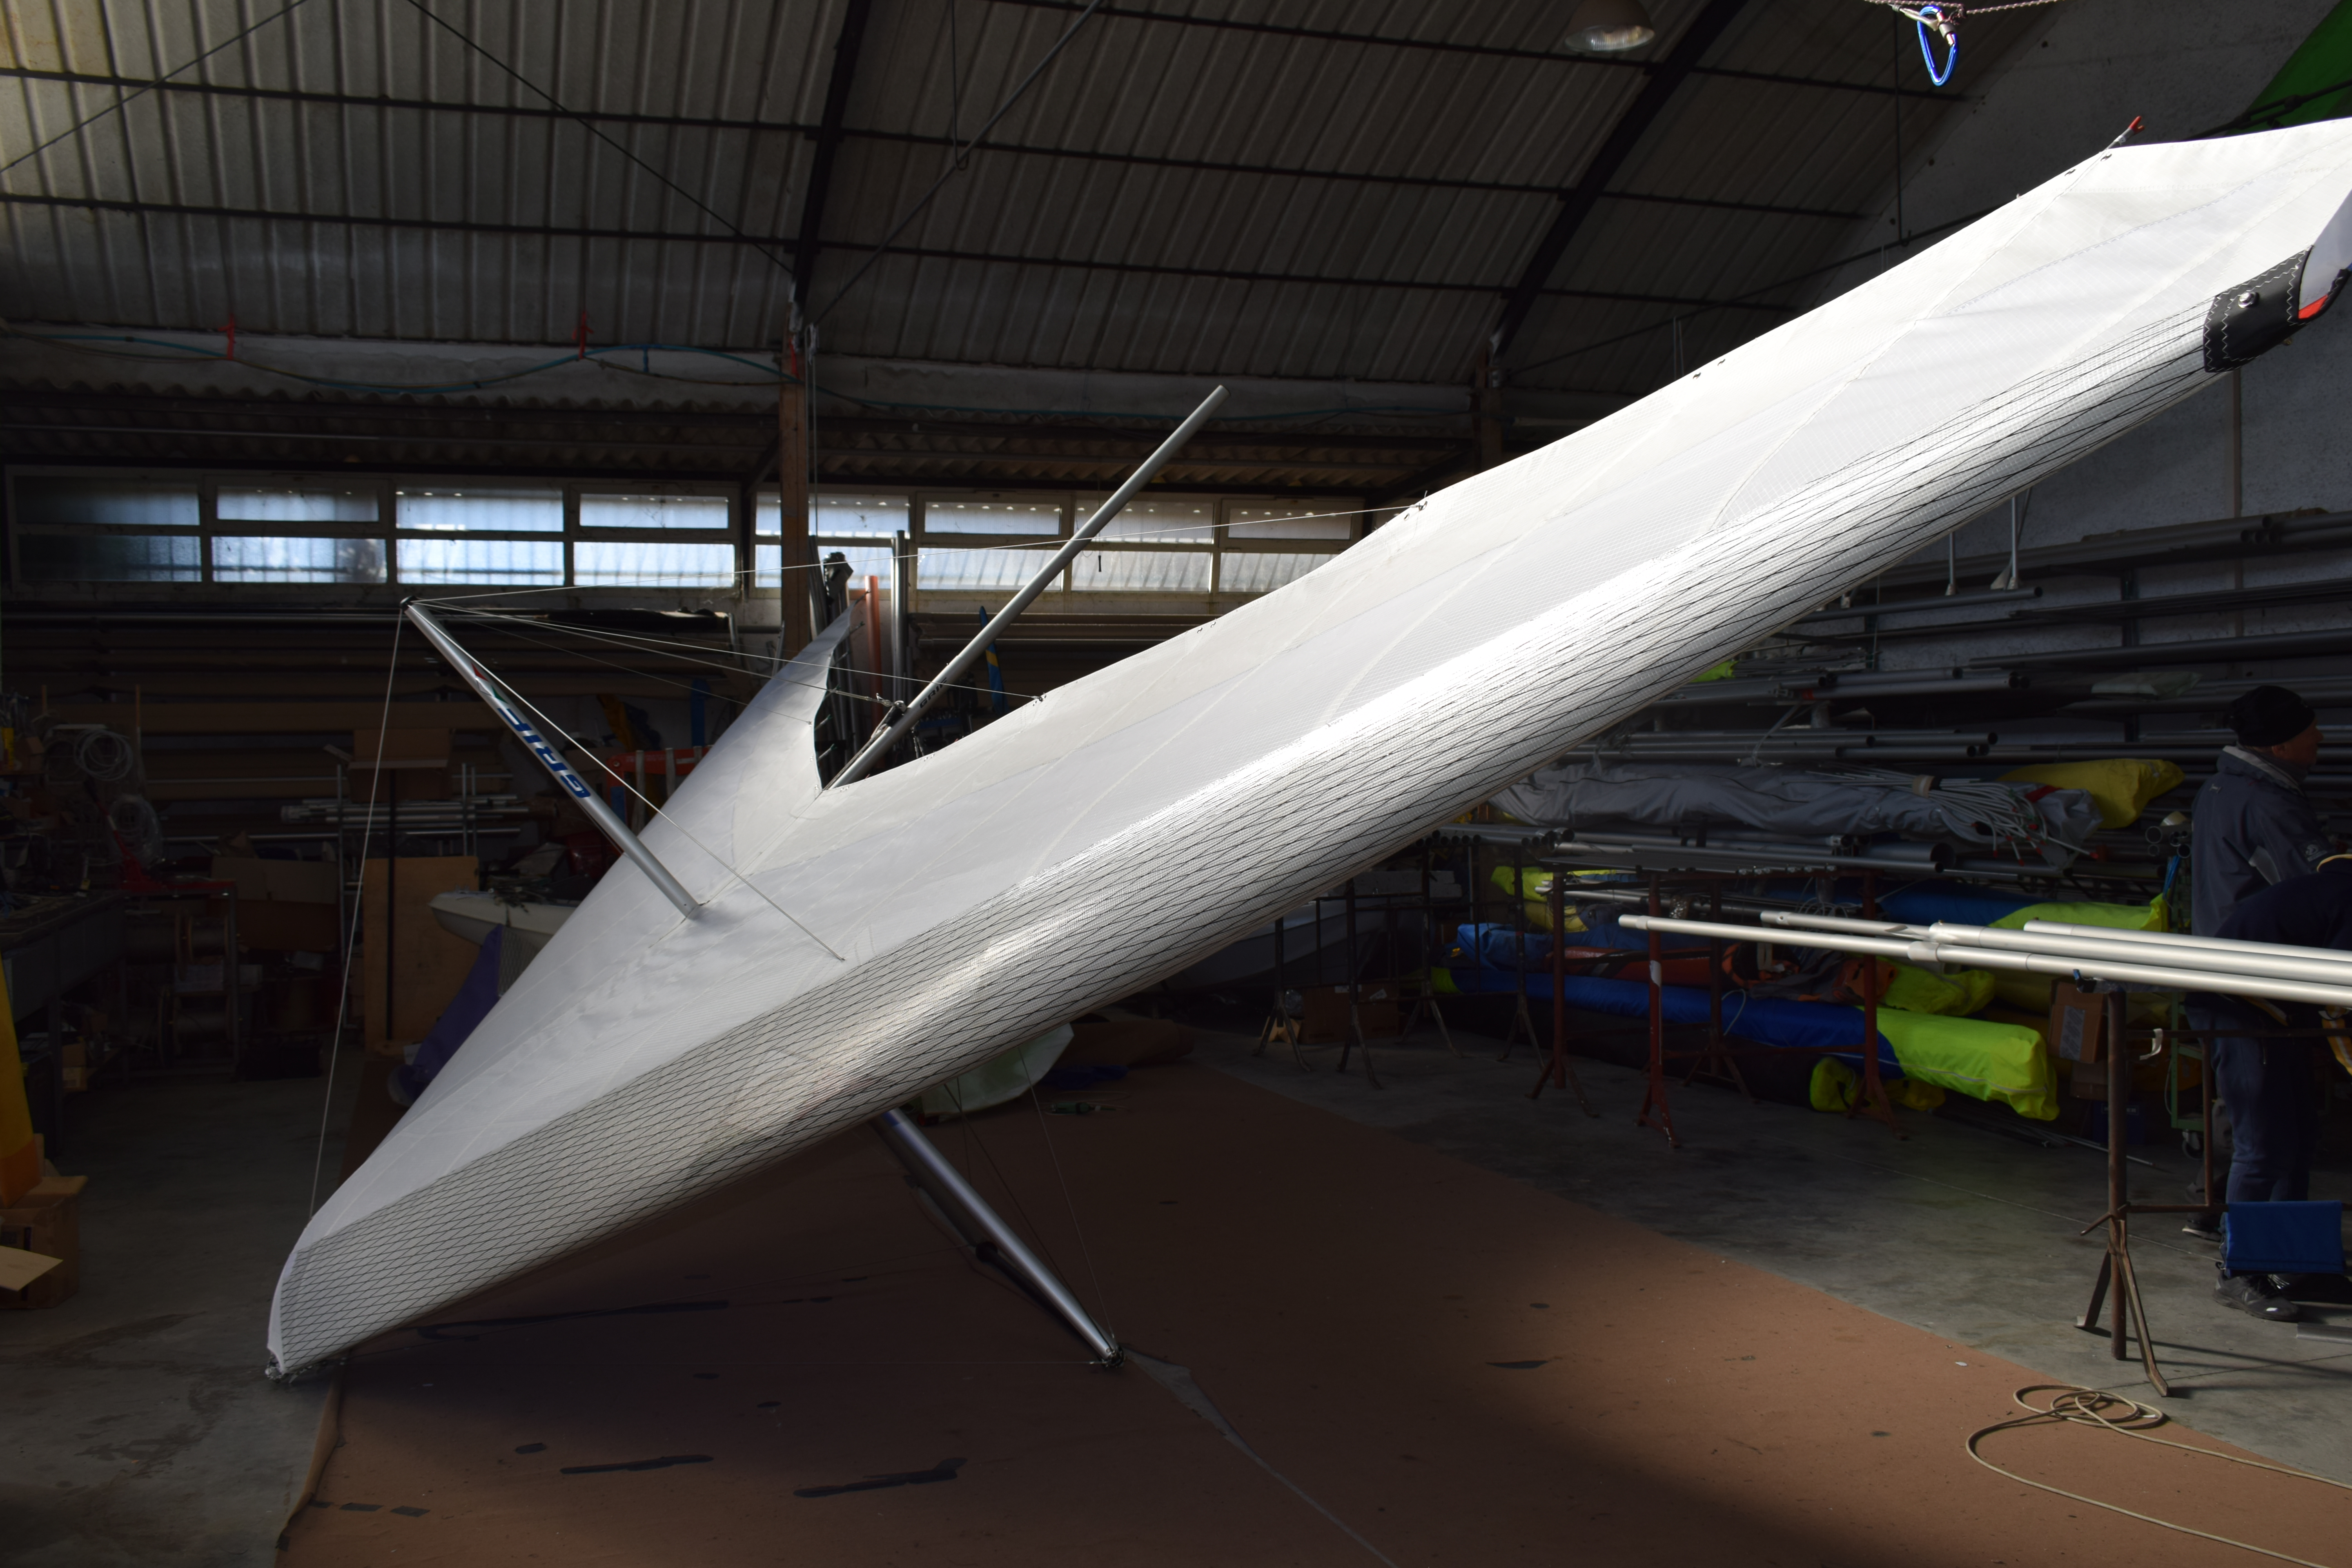
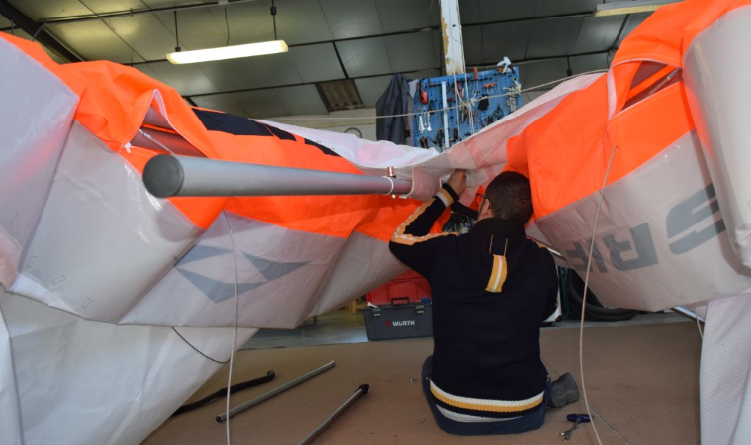
The ultralight-trike wing overhaul
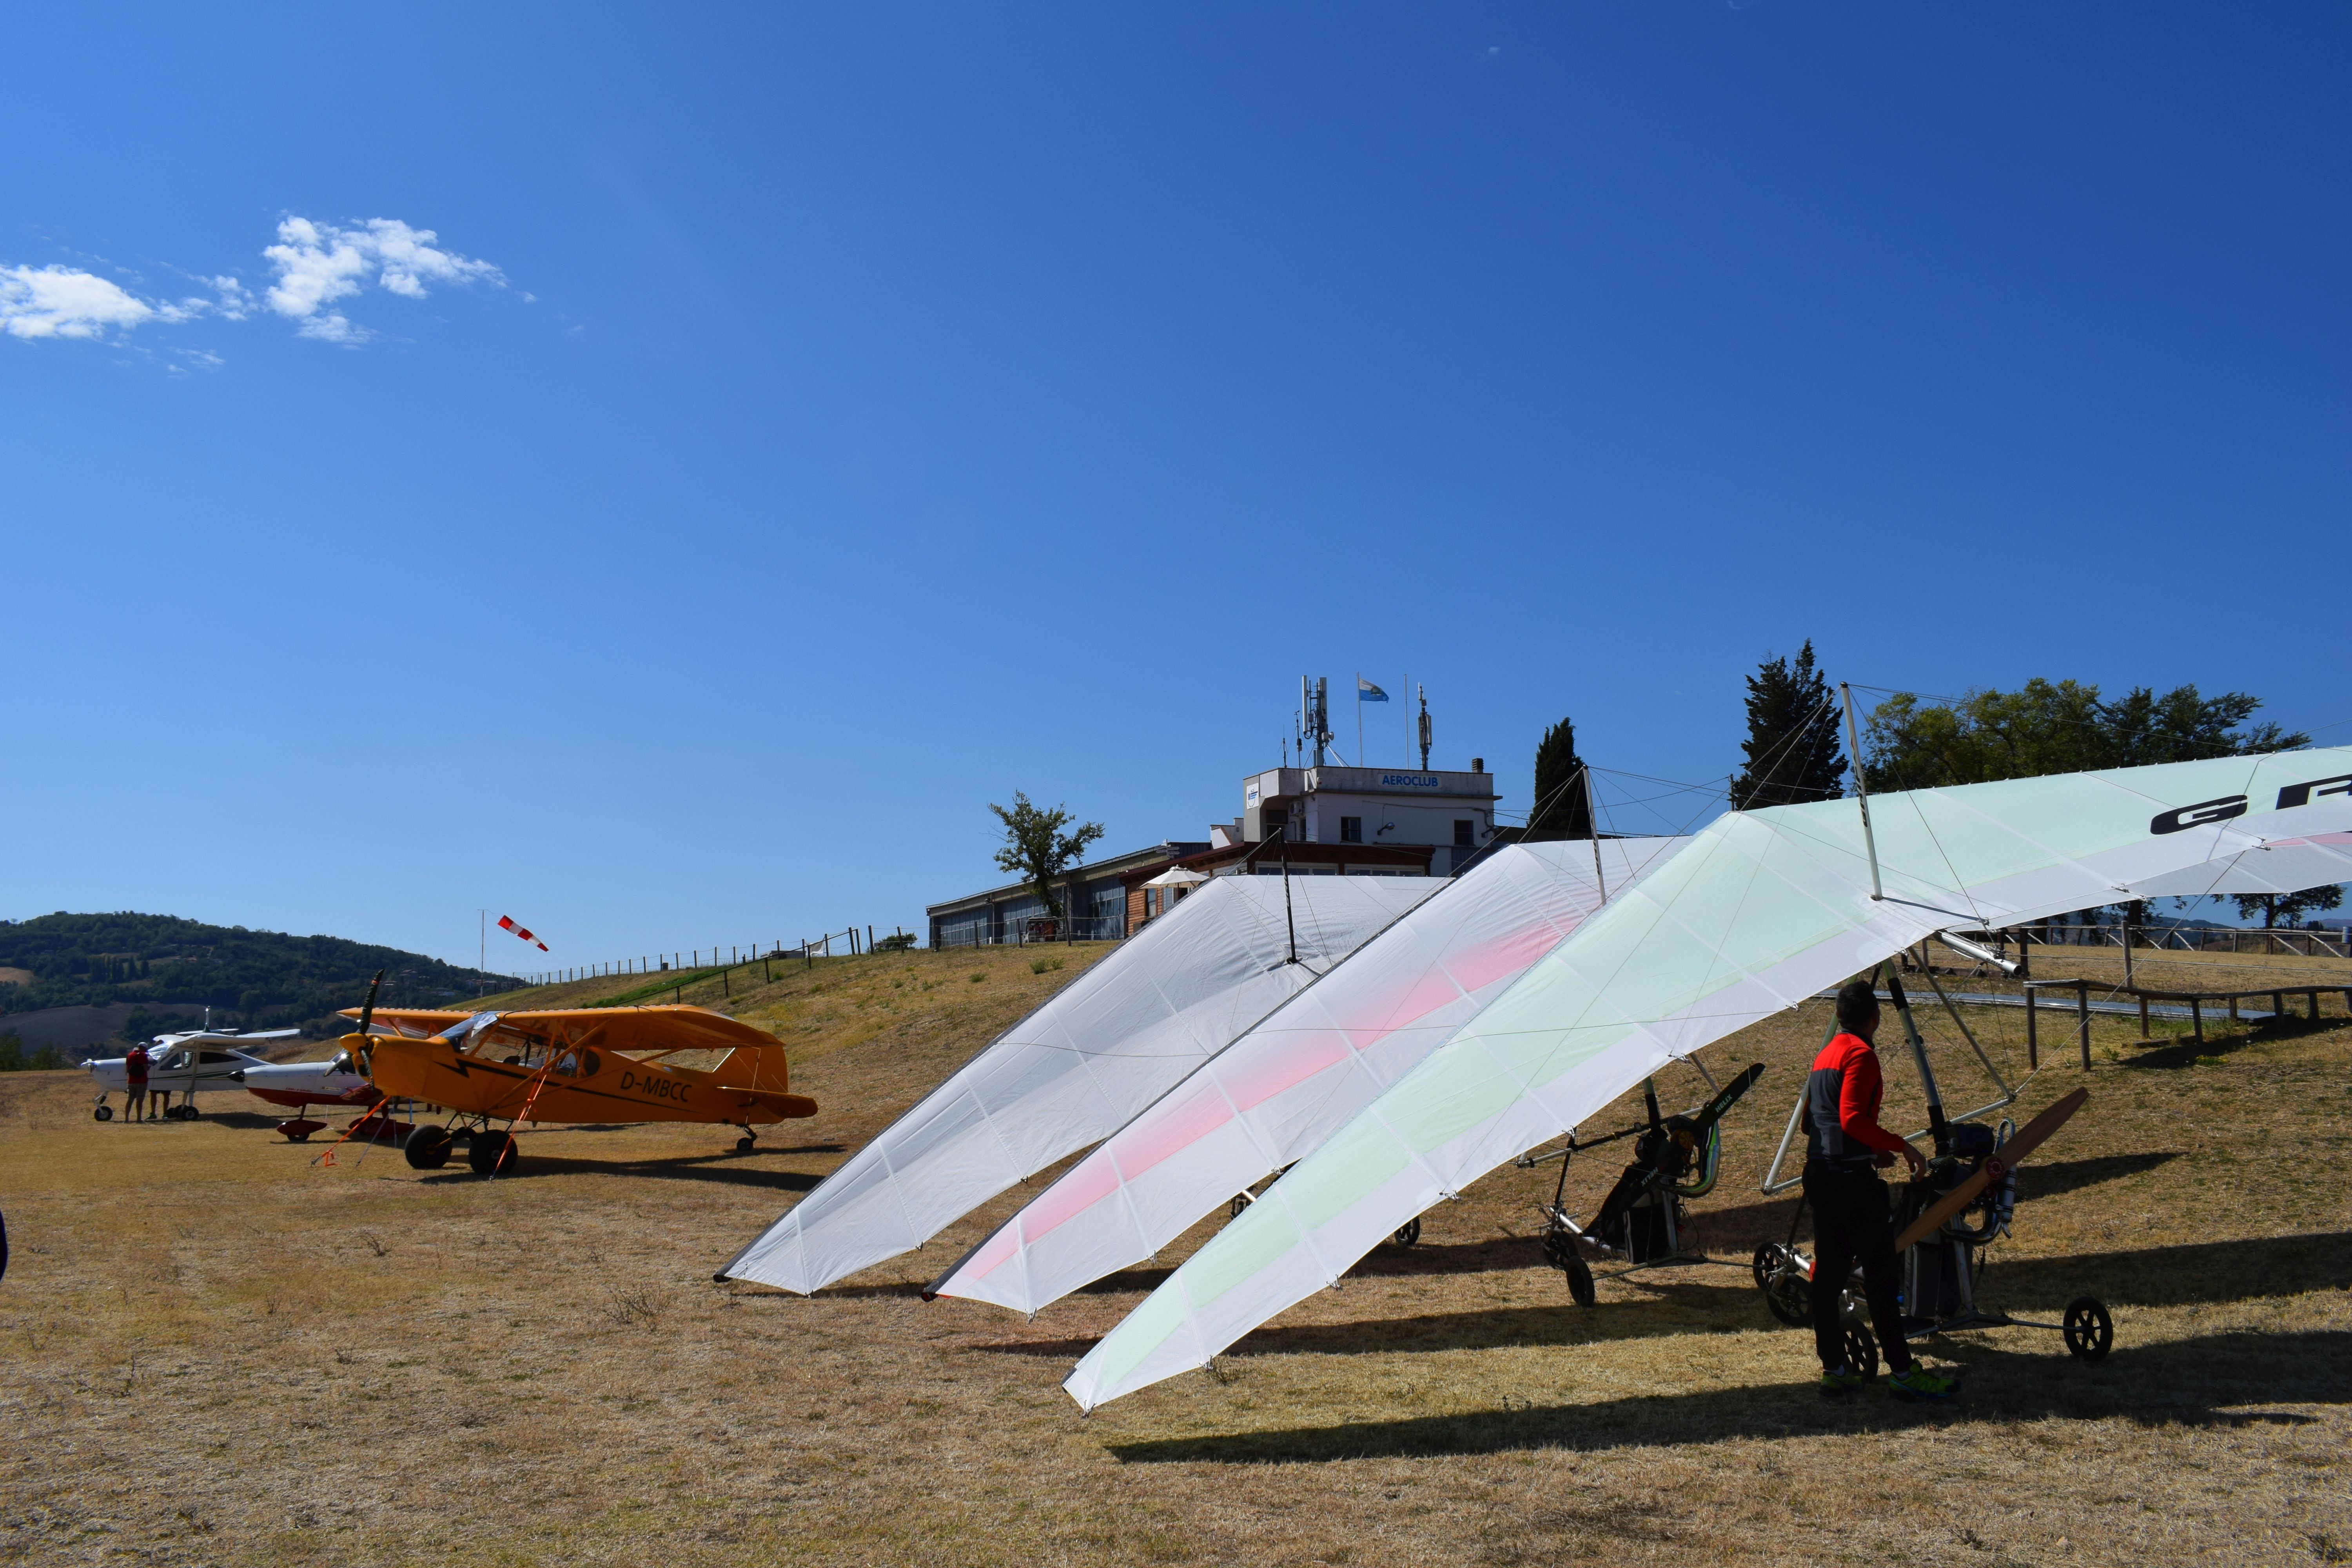
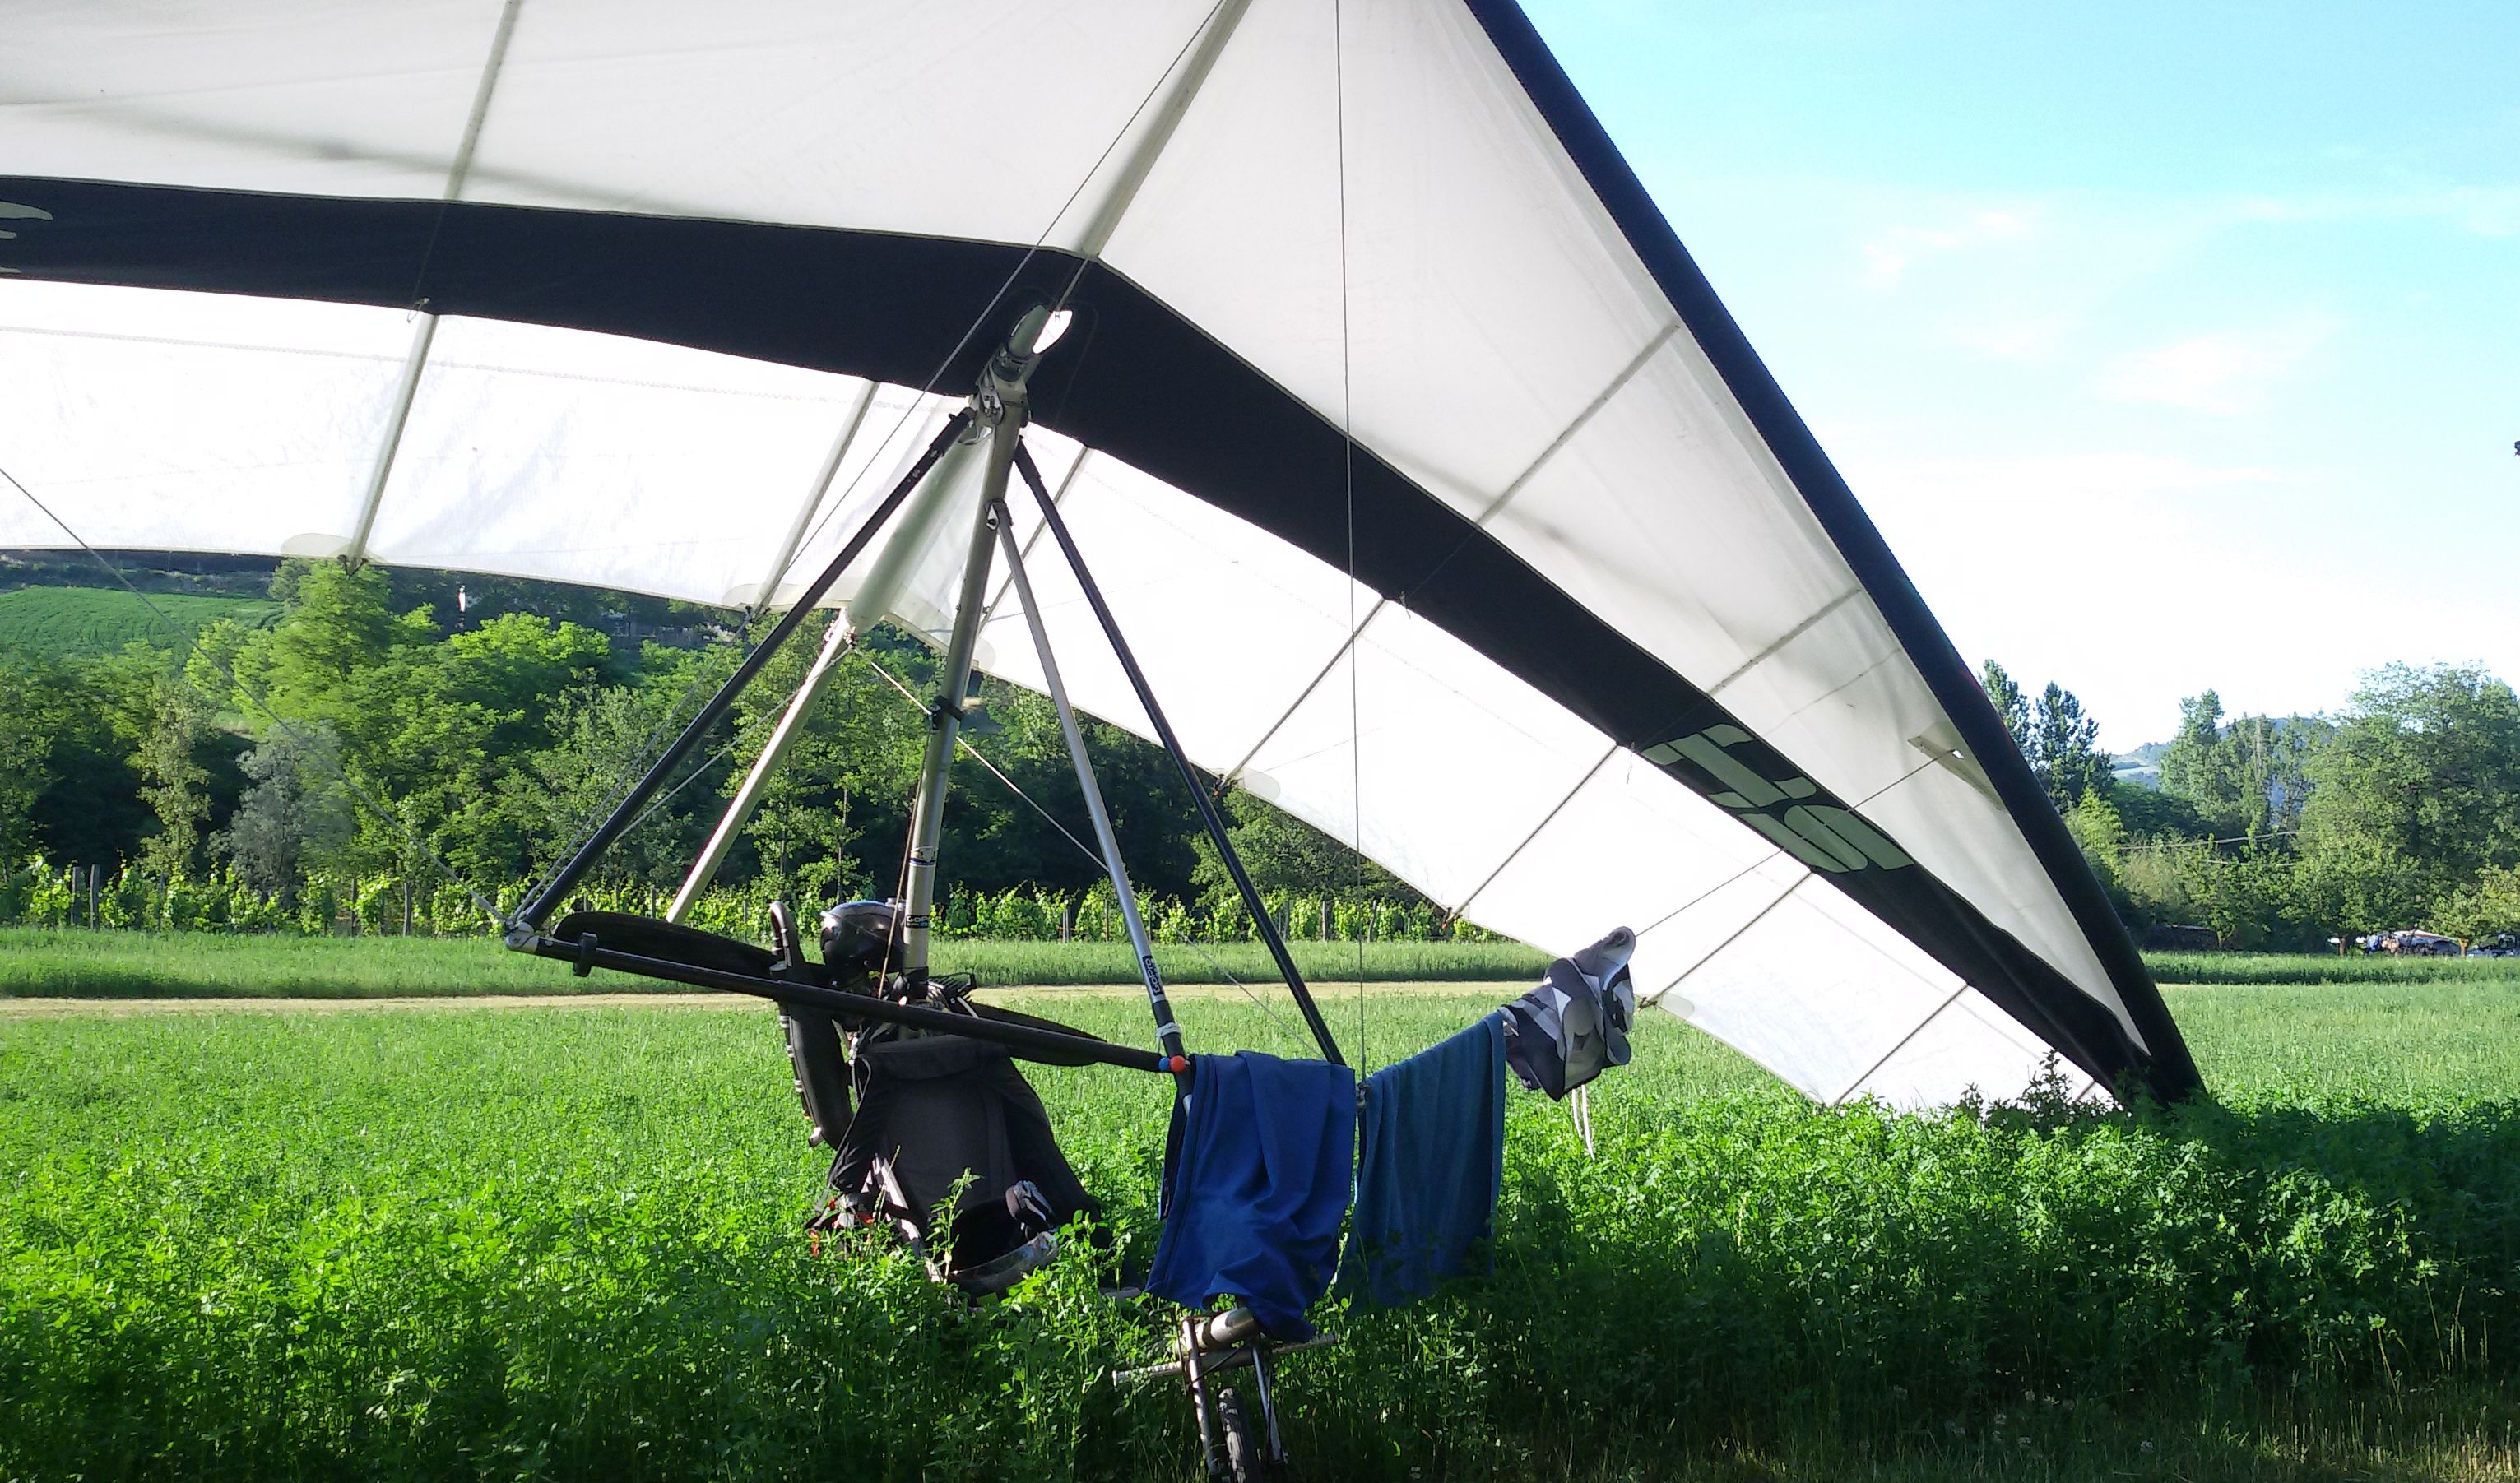
After 100 hours “in the air”, it is time of a give a treat to my HS 14 wing. I phoned Dario Graziani (Grif Italy) for an appointment and I was ready to go to Viterbo, not so far from Rome, for the wing “big inspection”. During the last 100 hours, I have not found any serious issues. Just two details due to the de-rig rush in the evening. Please remember that we are talking about a wing for nanotrikes that I open and close every time I fly, so about 40 times/year, and since I often fly until the ephemeris, sometimes the de-rig happens “by heart”. In short, a folded cable and a very small incision in the leading edge promptly repaired. Nothing else, so I was really happy to see the results of this inspection!
Ready? Start!
1. fastening lanyards on the wing nose;
2. upper and lower cables are unbolted, triangle and king post removed;
3. the sail is removed from the frame which is now bare and raw for a first visual inspection. No problem encountered;
4. it is the time to remove all the bolts until the frame is reduced in a pile of pipes. Now the grafts are inspected: they are the points where oxidation is most likely to occur;
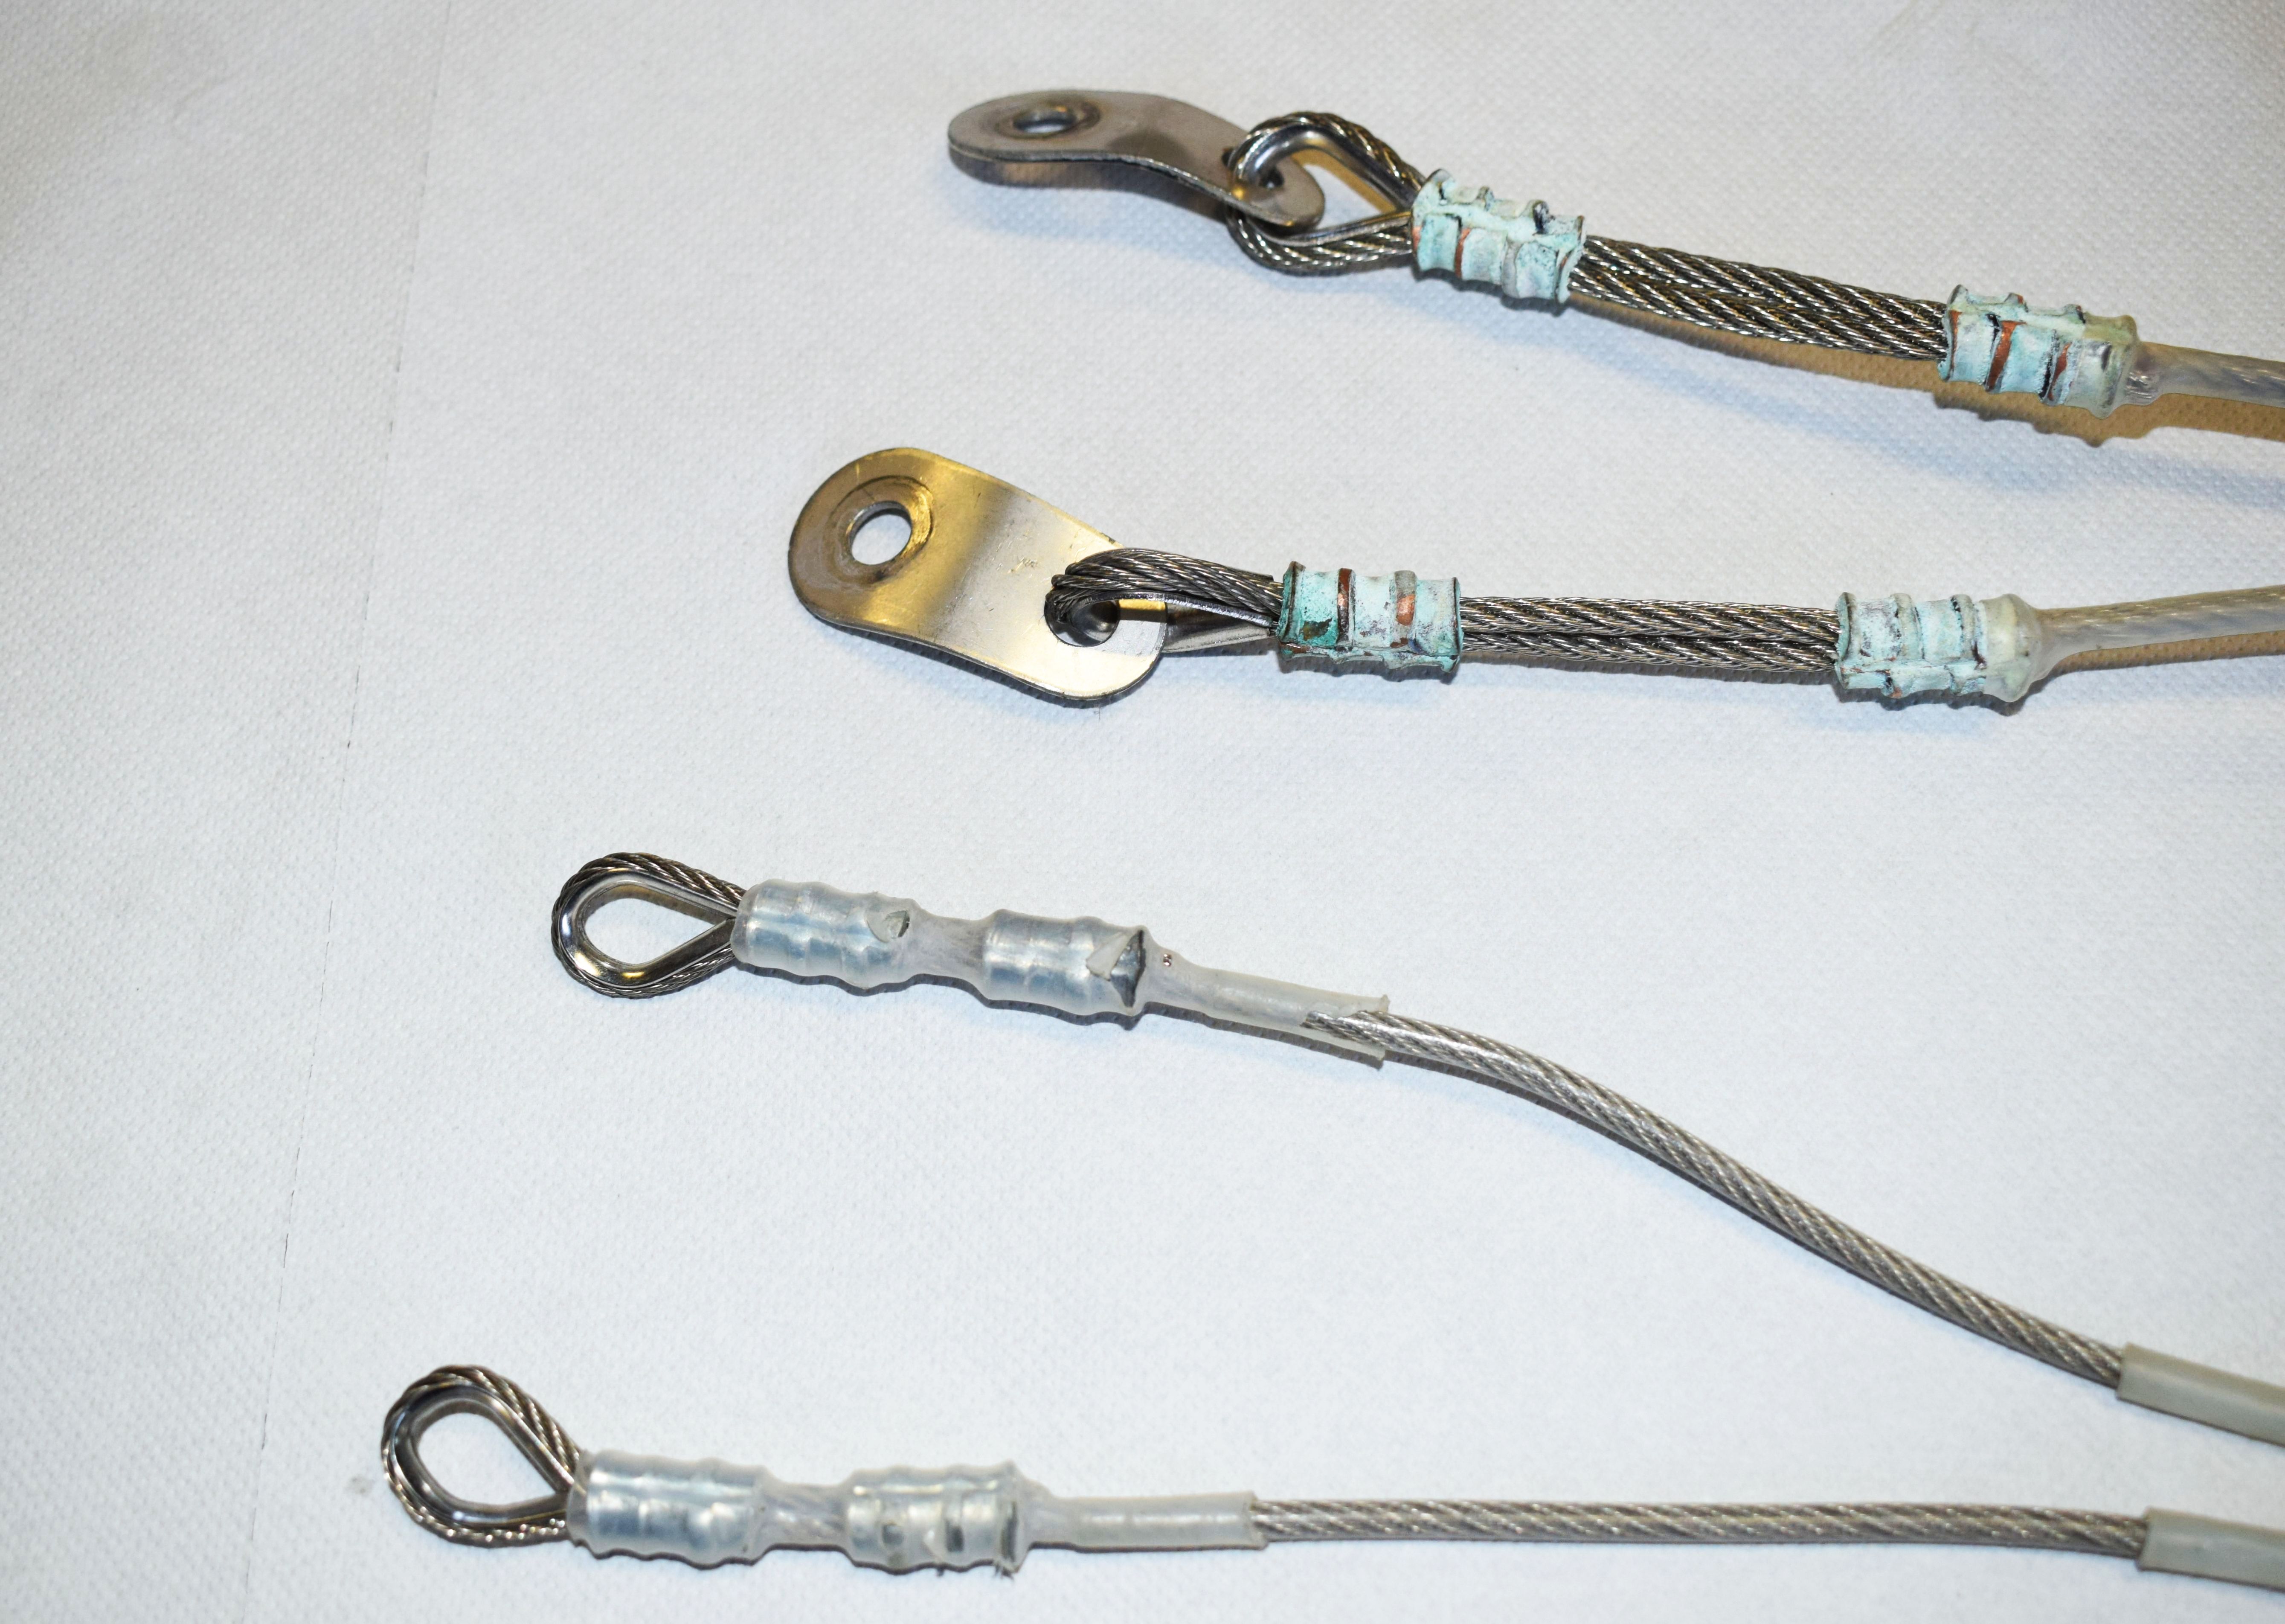
5. control of everything else: cables and redance eventually stretched by shocks, holes in the pipes to make sure they are not ovalized and, to finish, check of all the hardware (bolts, shackles, push-pins). Obviously, all the self-locking nuts are replaced, even if (apparently) in excellent condition.
Some example of cables observed into the factory…
Meanwhile, the sail is inspected in detail, if any trouble should be discovered, it must be sent to the sail factory for repairs, but, fortunately, this is not the case. At best, it needs of a good wash with water, brush and of a careful drying.
The sail inspection: the first clue to control is the possible clearing of the upper part of the leading edge with respect to the part that remains covered. This, followed by the needle test, the inserting of a needle under a non-basic seam, and the pull upwards of it to test the thread resistance, even up to the seam break. The seam thread is of the same material of the sail (Dacron) and then suffers the same decay. This inspection allows to understand if the sail can fly again or if it is the case to replace it with a new one, depending on the amount of U.V. that our sail has taken.
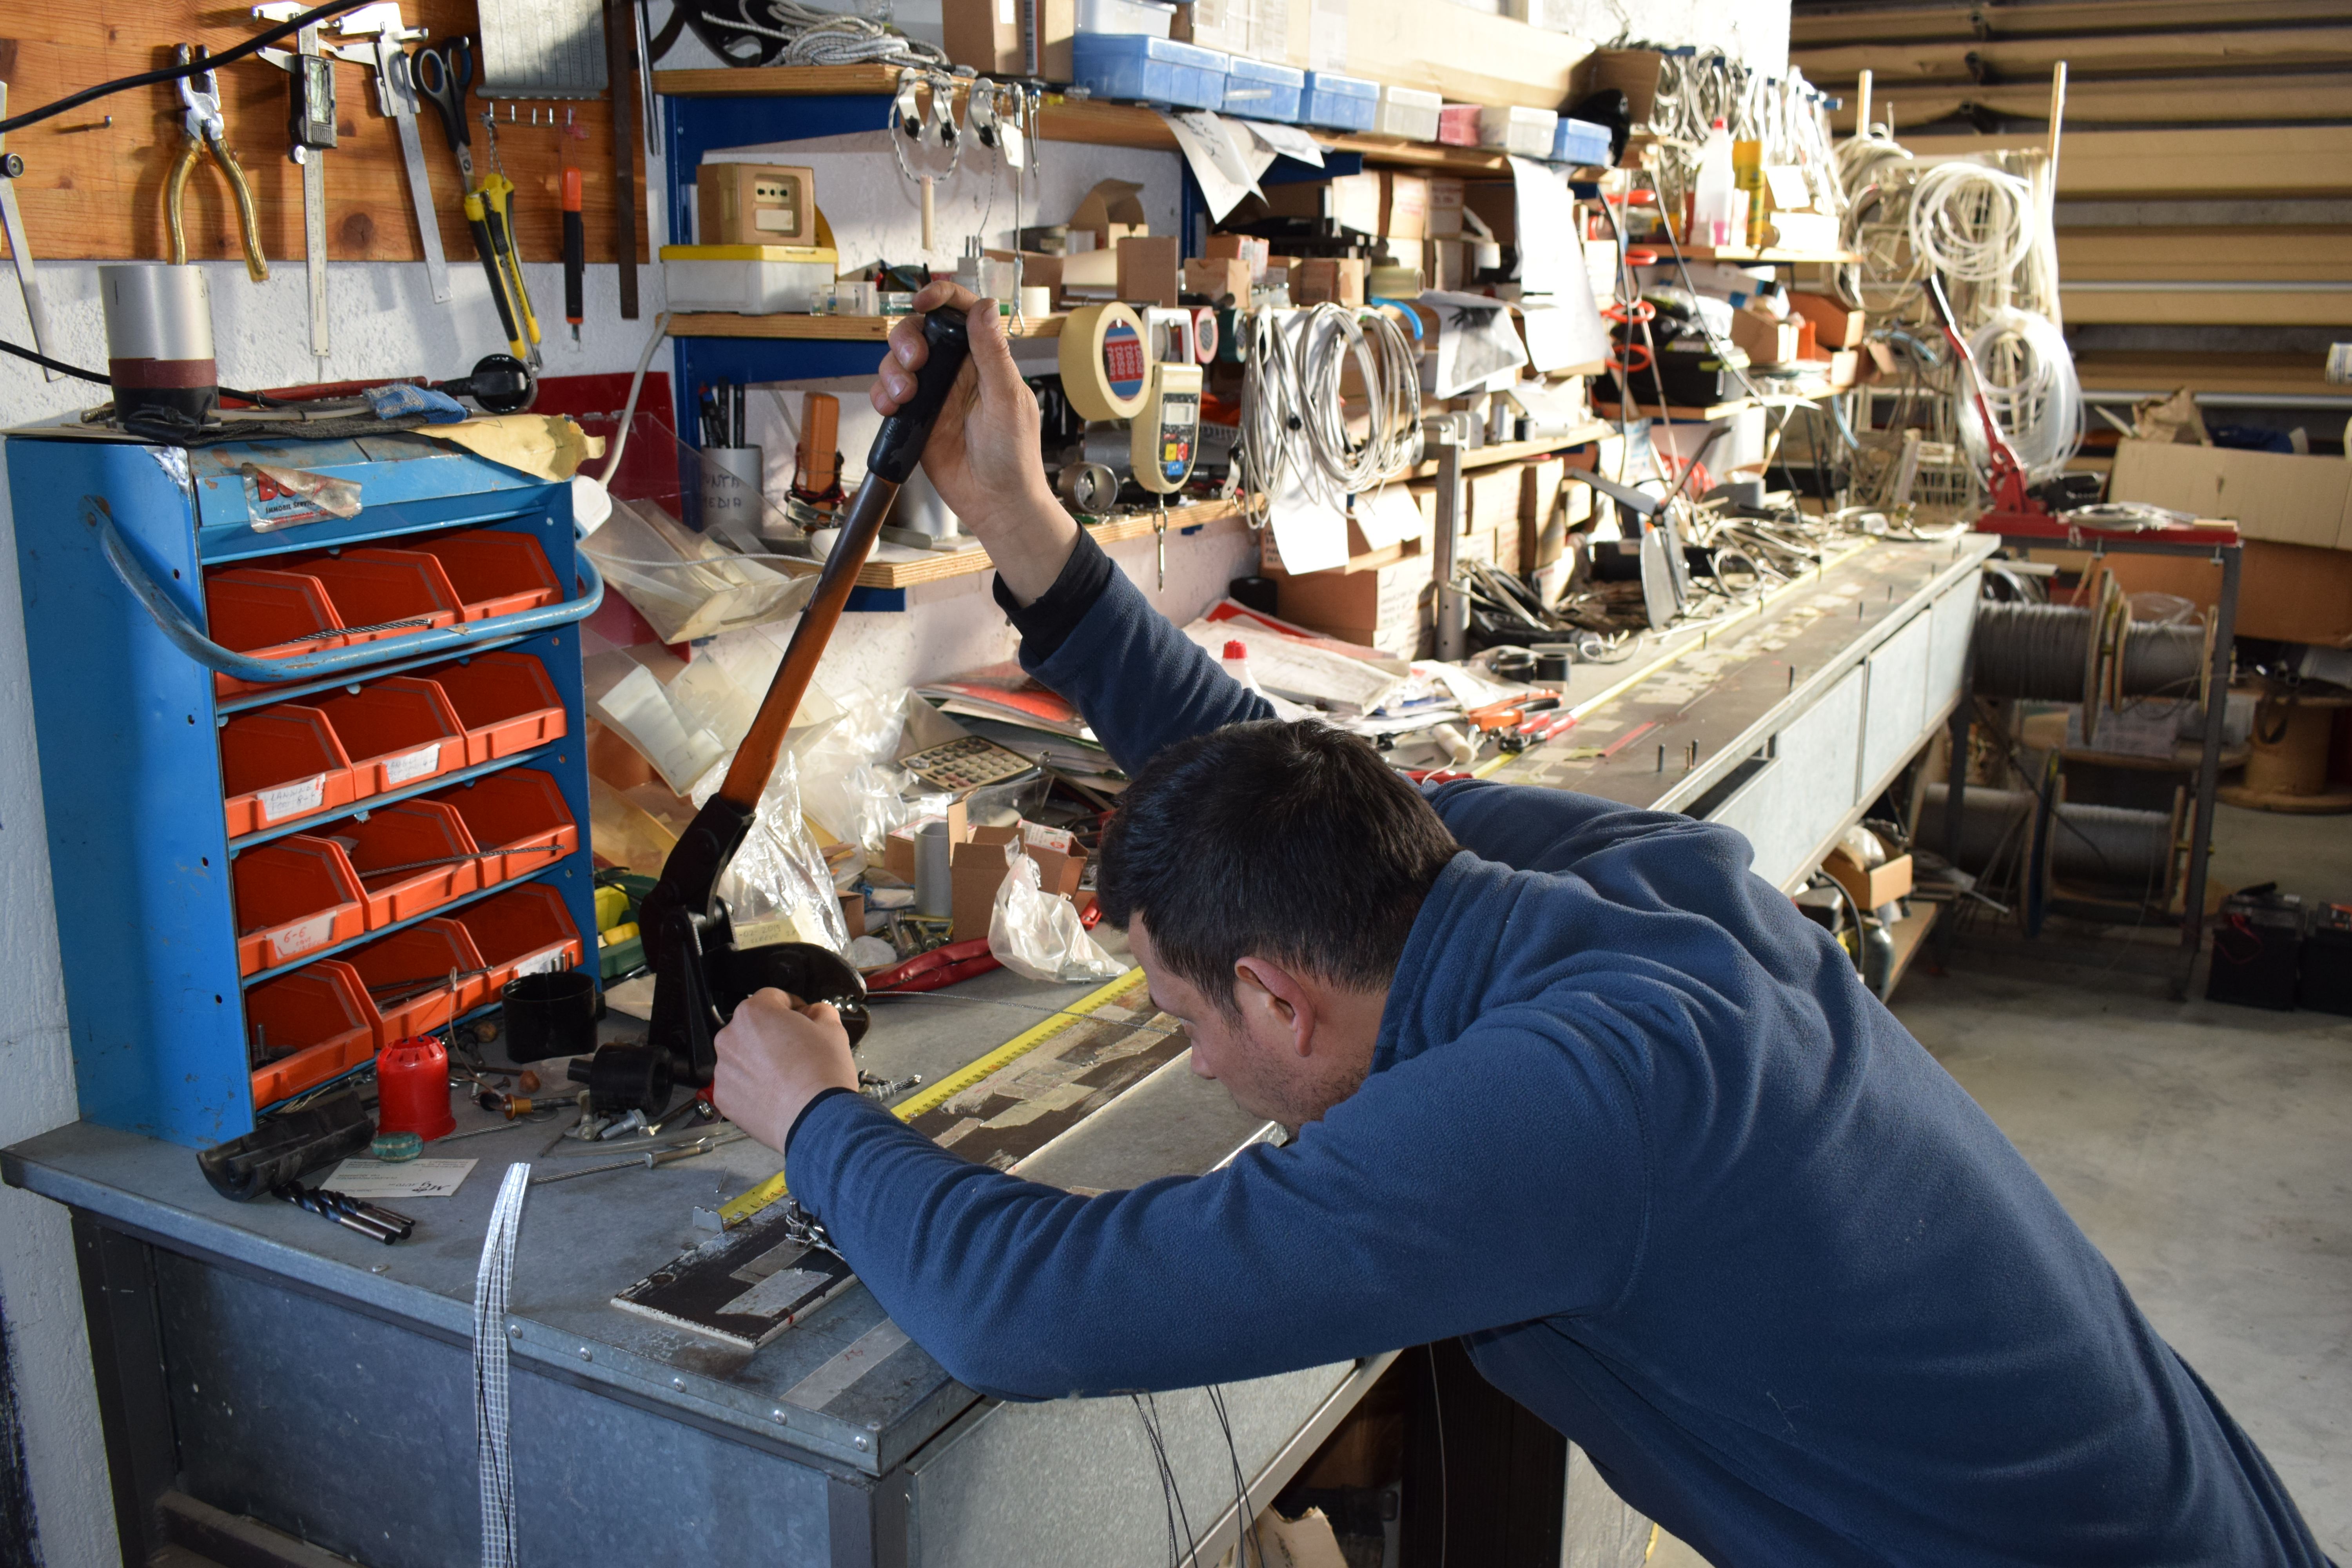
At the same time, the work on the frame continues with the replacement of the lower cables and related bolts. Now the frame is ready again to receive the sail: connected the cables, the wing opens again, the crossbar is tensioned and the elastic straps replaced.
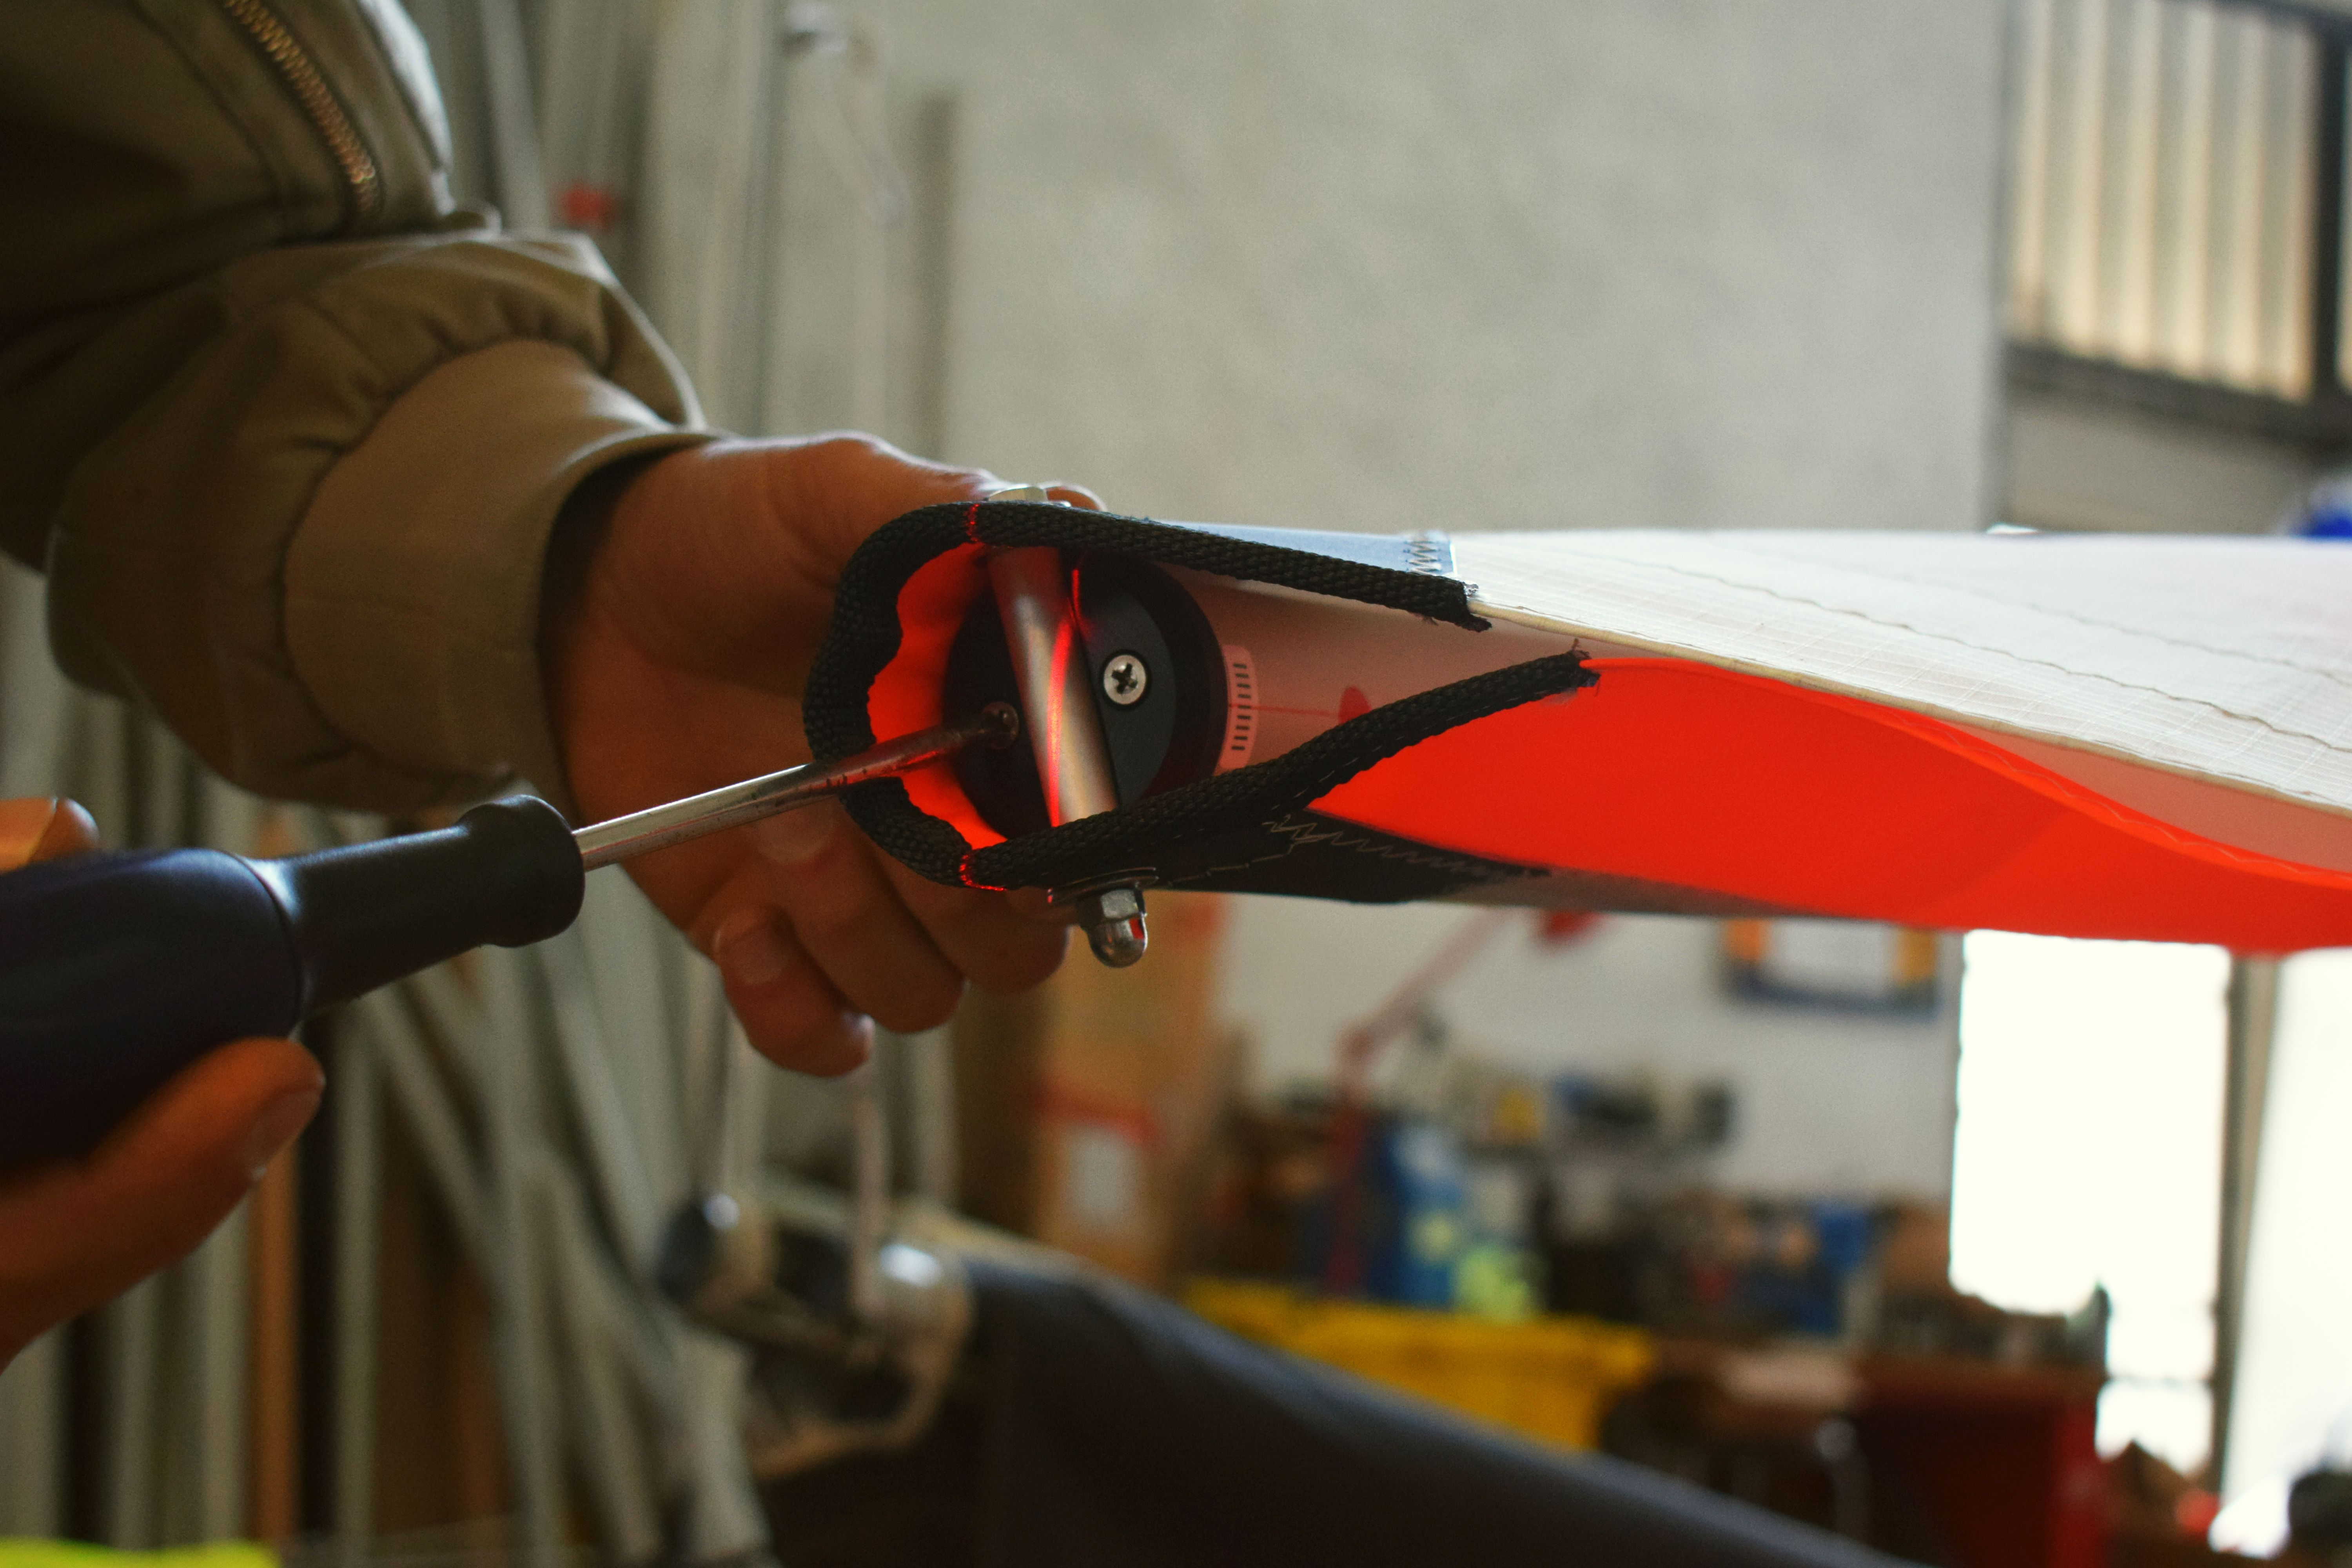
The last maintenance operation, but the most important one, is the adjustment of the extremity warping: at the end of the main tube of each half-wing, there is a rotating pin which allows to gently vary the warpage. The factory neutral position is determined by comparing the axis of this pin with the light trace of a laser level. Once the correct calibration has been reached, the restraints are tightened and the wing is ready to fly.
Ok, I’m ready to safely fly another 100 hours, meanwhile the new 11 sqm is watching us… see you next baby!
